
The Hexi Jade Pass in Where Winds Meet gave us even more to do in the free action game. In addition to exploring this new and mysterious location, you can also track down and fight the new boss introduced in this update. The first step to fighting the Iron-Blooded Prince boss is to start the Whitecrown Fortress questline in the eastern part of the map.
On the way to the boss
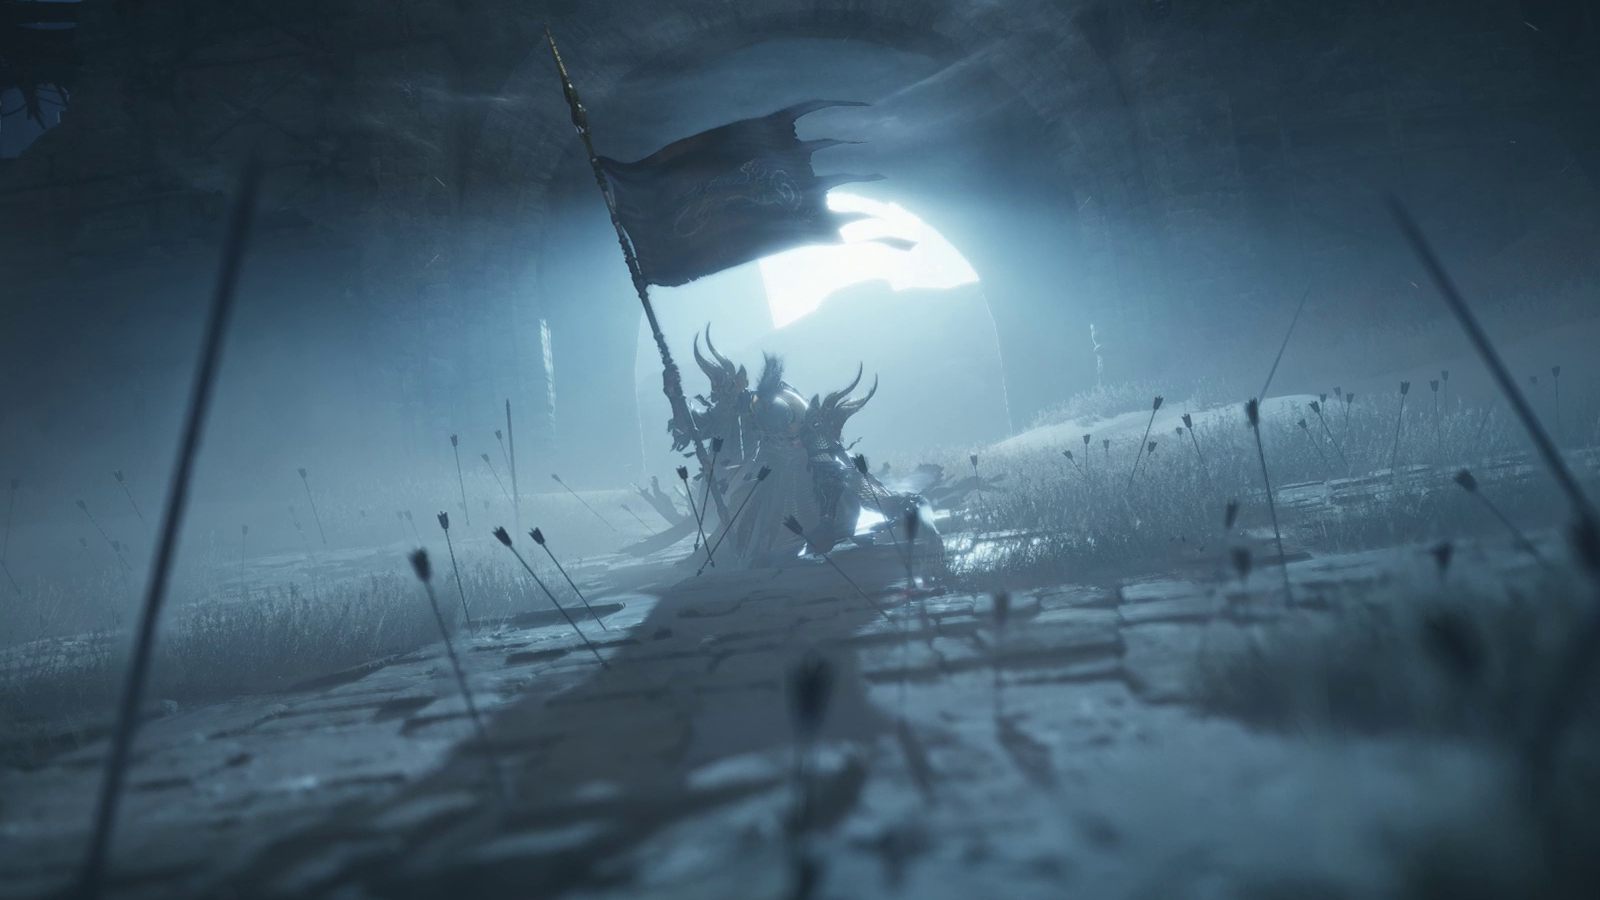
Once the Whitecrown Fortress quest is almost complete, you will be brought back to the fortress for a showdown. Here you are tasked with placing some military flags just outside the boss arena. Once everyone has been collected and discarded, you can face the Grand Protector of Anxi, who is also the Iron Prince.
Fight against the Great Protector of Anxi
Like many other boss fights in the game, there will be several different phases of the fight, with the first being the simplest and allowing you to grasp the rhythm of the fight. Here you have some time to understand the boss’s movements and timing for most of the upcoming attacks that you will see as the fight progresses. Many attacks in this part of the fight are long-duration attacks that result in a combination attack that can change the properties of the last attack in the chain.
You can also abuse his recovery frames while he’s in the middle of a combo if you feel comfortable staying close to him during his attacks. The animations are quite long compared to many other bosses, allowing you to stay close to him during a combo and attack between each of his hits. Such a tactic requires you to be very familiar with timing parries and breaking the boss’s stance meter.
Great protector of Anxi attacks
In total he can make twelve attacks in phase 1. With a few exceptions, almost every attack is slow. These initially include attacks with a red or gold shimmer. In Phase 1, you’ll notice that the boss’s combos have a surprising variety. They’re supposed to trip you up if you don’t keep an eye on the boss. There is no set pattern to his unblockable or parryable attacks, so you have to pay close attention. His moveset will include some attacks that combine an attack that can be parried with another attack that cannot be parried. Então, before striking, you must be vigilant about the red or gold hue that his movements give off.
If you’re particularly struggling with this aspect of the boss, try to keep your distance from him while he’s in animation where the wind is kicking up dust around him. This will allow you to respond to his larger combo in Phase 1. With this setup, you’ll be able to dodge a little easier and still be able to make your way to him while the attack is recovering to deal significant damage.
He can also summon a comrade to briefly join the fight and attempt to defend his leader. When this soldier enters the arena, you have to make a pretty difficult decision about where to stand and how to proceed. From here you need to be less aggressive and focus on fighting off two enemies at once. No entanto, you can drive the soldier mob away from the boss to a safe location and block its attacks, which will also ultimately lead to the boss’s attitude meter being depleted. No entanto, if you choose to stay close to the boss, you may be able to parry both at the same time, giving you even more Stance Break if you manage to pull it off.
In the fight against the Iron Prince
When Phase 2 begins, you will be faced with a new form and additional moveset of the boss, with his name now displayed as Iron-Blooded Prince. His attacks will now also be infused with lightning and he will begin using delayed attacks on a regular basis. These delays are used in his air and bow combos, making it harder to stay consistent in this half of the fight and forcing you to choose between a carefully timed dodge or a parry.
For this phase, the boss now has fourteen new attacks at his disposal, one of which is a final attack that actually doesn’t cause any damage. The rule of thumb for this part of the fight is to delay your parries and dodges as long as possible. The schedule for this phase is very tight and you want to be as close to perfection as possible.
Attacks of the Iron Prince
At the start of Phase 2, the Iron-Blooded Prince will jump into the air and hurl a lightning spear at you. While he’s in the air, you’ll see a brief golden glow on his weapon before it’s thrown towards you. He will then land where the spear was thrown and then perform a jumping attack on you.
Three of these attacks will also include his bow. To do this, you have to be on your guard and wait for the delayed attacks that he will deflect. On the first attack, he will jump into the air and shoot three arrows at you, followed by a delayed fourth arrow at the end. His second attack with the bow involves him rushing forward, briefly surrounded by lightning, and shooting an unblockable arrow at you. The final bow attack occurs when he takes a low pose, quickly fires three arrows at you while on the ground, and immediately charges forward with a large spear swing attack.
From here, the rest of his attacks will largely rely on his spear, with the majority of them being lightning-based attacks. They cause him to run forward quickly, fall to the ground when jumping, or sweep wildly in front of him. They are not particularly difficult to deal with as they have reliable timing to dodge or deflect the attacks. Make sure you stay on top of them as these are always in random order and can still be delayed to cause chaos on the battlefield.
At the end of the line, he shoots a charged lightning arrow into the sky to mark the end of the encounter. As long as you’re careful and can survive the Iron-Blooded Prince’s onslaught of delayed attacks, you’ll finish this fight in no time. He has no significant weaknesses or resistances, so whatever weapon you prefer will get the job done as long as you’re comfortable with it.